Simple Command-line Prompts in the Terminal
Learn Simple Bash/Terminal Commands and Master how to Manipulate Files and Directories from the terminal
Oloche Aboje - Frontend Developer & Tech Educator
I'm based in Coventry, UK, with a background in Architecture that has transitioned into Fontend web development. After completing a frontend development boot camp at the University of Birmingham, I've become proficient in JavaScript and React, and I’m passionate about making coding more approachable for everyone.
I love to share my journey through blogging, where I simplify coding for beginners with clear explanations, stories, and quizzes. My blog isn’t just a record of my learning; it's a place where I help others start their coding adventure in a friendly and engaging way.
Here, you'll find insights into my transition to tech, alongside tips and tricks that make programming less intimidating and more fun. It's about creating a welcoming space for anyone curious about coding, offering guidance and encouragement every step of the way.
Welcome to my blog, where each post aims to make learning tech enjoyable and accessible to all.
Why The Terminal?
I know you must be eager by now, with the tension building to jump right into coding, but these preliminary lessons would help set you up for success.
From our previous lesson https://abojeonline.com/installation-of-vscode-extensions-github-and-ssh-keys, we touched briefly on the terminal/Bash. They both mean the same thing. Today, we will be learning how to manipulate files and folders (or directories) using the command line.
You may be wondering, why use the terminal instead of the finder to manipulate files and folders. You can control files and folders in an instant using the terminal, such as filtering them, changing their cases to upper or lower case, etc. So as a programmer, you want to get comfortable with manipulating the terminal.
Below is a list of common commands you will be using regularly:
Common Terminal Commands
| COMMAND (as Bash Code) | DETAILED DESCRIPTION |
| Ctrl + (in windows) | |
| Ctrl - (in windows) |
Cmd + (in Mac)
Cmd - (in Mac) | Increases or Reduces the terminal size and text size. | | clear | Clears the terminal display. This command is useful for decluttering your terminal window by removing all previous commands and outputs. | | pwd | Displays the Present Working Directory (PWD). This command outputs the full path to the current directory you're in, helping you to easily identify your location within the filesystem. | | cd | Means “change directory”. It takes you to the very top of your user directory, represented by the squiggly line (~) called “tilde”. | | Up arrow key (↑) | Brings back recent commands | | ls | Lists the entire contents of the current directory | | cd Desktop | Assuming that the desktop directory is inside the current directory, this command takes you to the desktop. In general, you can only cd into a directory that is inside your current directory. | | cd .. | Takes you back, up one directory. | | mkdir loch_learn | "mkdir" means “make directory”. It creates a new folder or a directory called “loch_learn” inside your folder or current directory. Always use dashes or underscores to separate words while naming files and folders and not spaces because it will create each word as a directory. Spaces are used to create multiple directories. | | touch admin_learn.html | Creates a file called “admin_learn.html” inside the current directory.
“.html” is the file extension | | explorer . (in Windows)
open . (in Mac) | Opens up the current directory in Windows Explorer | | rm then file name | “Remove” deletes files in the terminal | | rm -r then folder name | Deletes folders in the terminal | | history | displays a list of all commands used in the current session |
Practice Activity:
Open Vscode
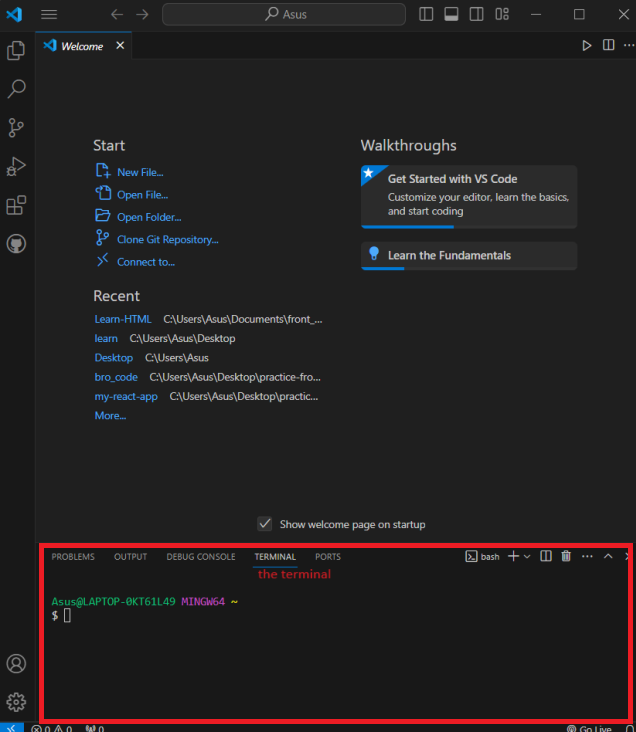
Type "cntr + j" to open the in-built terminal in vscode:
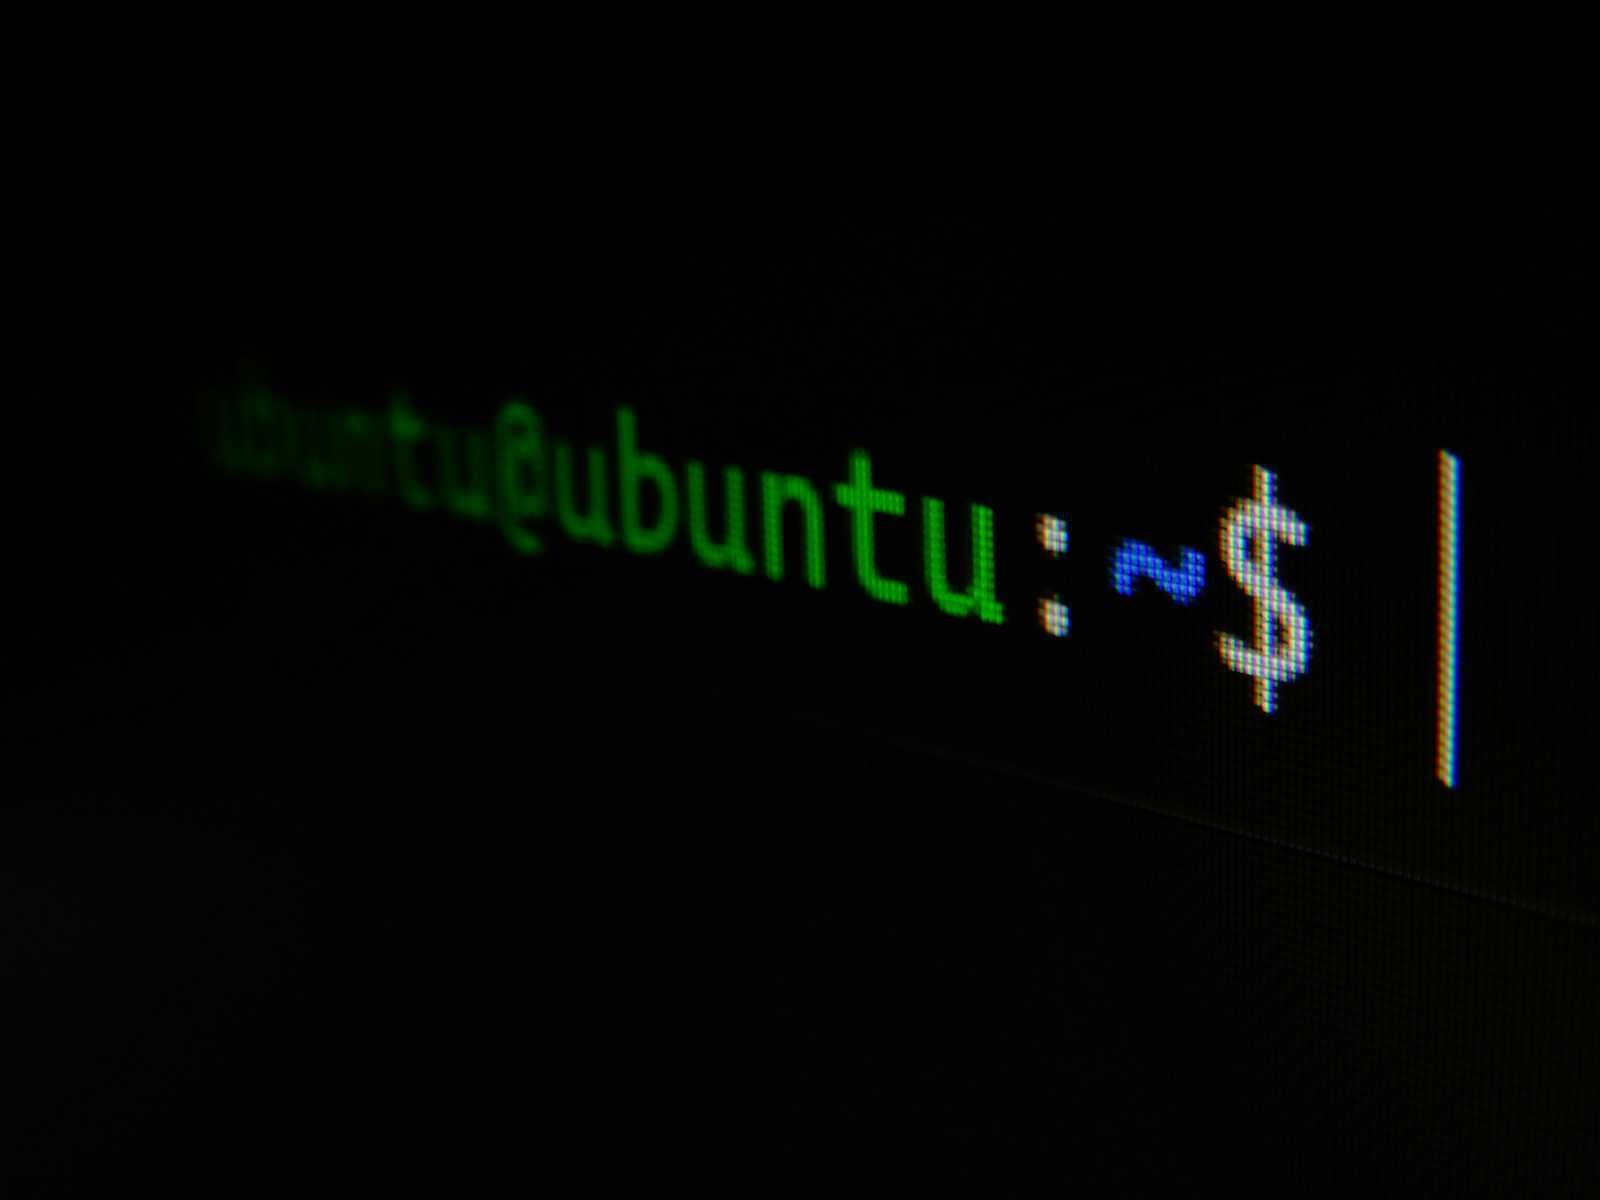
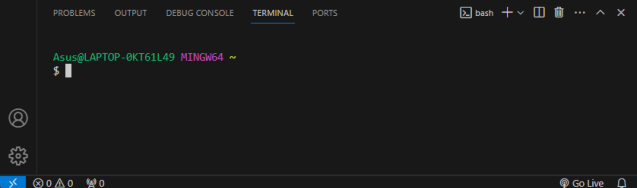
Don’t bother typing the $ symbol before typing in terminal commands, it’s just there by default, telling you it is ready for you to start typing.
Type "cd" and hit "enter" to take you to the top of your user directory. You will see the tilde (~) symbol, meaning you are at the top.
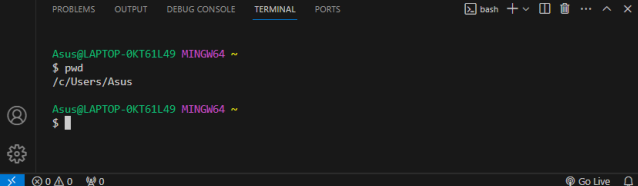
Type "pwd" and hit "enter" to view your present working directory, notice the directory tree displayed below. I am currently inside the Asus directory.
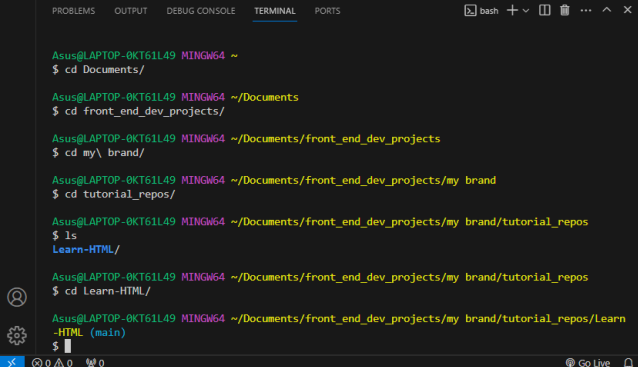
Navigate from here to where your repository was created in our previous lesson, by learning how I navigate to mine.
type "ls" and hit "enter" to first see the content of your current directory
Type "cd documents" and then navigate using "cd" to where your repo is
Once you are inside your repo, you will it marked as "main".
From here, let us create some new files and folders to organize things for our class.
Type "touch index.html" to create our first HTML file.
Type "mkdir assets/images" to create an assets directory and images directory inside the assets directory.
The index file must be in the root directory of your project. The root directory is the parent folder of your repo or project.
Click on the explorer icon which is the topmost on the left side bar of vscode and see the file created.

Remember not to type the "" quotation marks in these steps 🤣
Practice the commands above just to get used to them, they are simple. Now,
type "clear" to clear the terminal. "history" to see all your commands in this session.NICE JOB!
Click here to proceed to the next article to learn the basic structure of HTML.