HTML 102: Pre-formatted tags, Comments & Hyperlinks
We dive deeper into html elements, adding comments and creating relative and absolute links

Oloche Aboje - Frontend Developer & Tech Educator
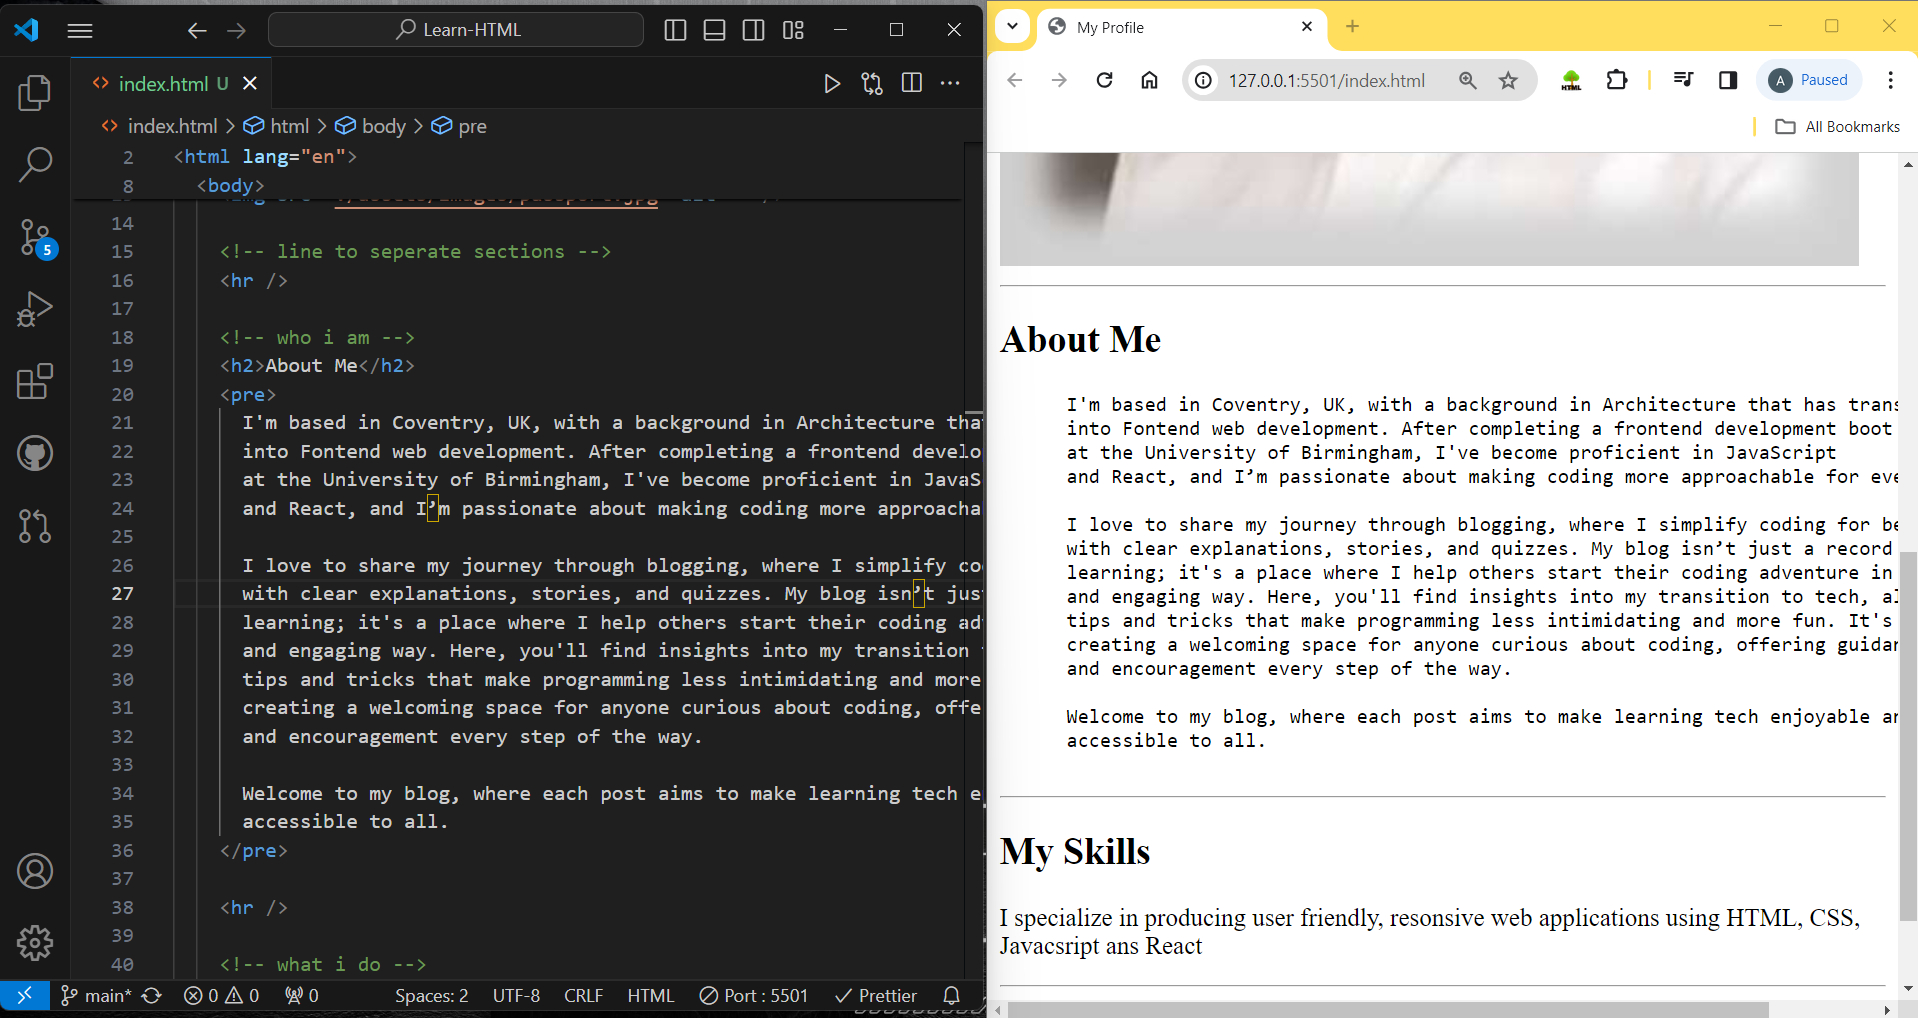
I'm based in Coventry, UK, with a background in Architecture that has transitioned into Fontend web development. After completing a frontend development boot camp at the University of Birmingham, I've become proficient in JavaScript and React, and I’m passionate about making coding more approachable for everyone.
I love to share my journey through blogging, where I simplify coding for beginners with clear explanations, stories, and quizzes. My blog isn’t just a record of my learning; it's a place where I help others start their coding adventure in a friendly and engaging way.
Here, you'll find insights into my transition to tech, alongside tips and tricks that make programming less intimidating and more fun. It's about creating a welcoming space for anyone curious about coding, offering guidance and encouragement every step of the way.
Welcome to my blog, where each post aims to make learning tech enjoyable and accessible to all.
Refresher Quiz
Before we proceed with our lesson for the day, let's take a quick refresher. Try to answer the questions yourself first before toggling for answers.
What does HTML stand for?
HTML stands for HyperText Markup Language.What is the purpose of the
<h1>tag in an HTML document?The <h1> tag is used to display the main heading of a webpage.Which tag is used to insert images into an HTML page?
The <img> tag is used to insert images into an HTML page.How do you create a link to another webpage using HTML?
Use the <a> tag with the href attribute to create a link to another webpage.What is the correct HTML element for inserting a line break?
The <br> tag is the correct element for inserting a line break.What is the purpose of the
<!DOCTYPE html>declaration?The <!DOCTYPE html> declaration defines the document type and HTML version, indicating it's an HTML5 document.Which HTML tag is used to define the body of the HTML document?
The <body> tag is used to define the body of the HTML document.Describe the basic structure of an HTML document.
The basic structure includes the <!DOCTYPE html> declaration, followed by <html> tag with nested <head> and <body> tags.What is the function of the
<meta charset="UTF-8">tag?The <meta charset="UTF-8"> tag specifies the character encoding for the HTML document.What did you notice about the font sizes of headings from
<h1>to<h6>?The font sizes gradually reduce from <h1> to <h6>.What is the difference between an element and a tag in HTML?
In HTML, a "tag" refers to the syntax used to denote the start or end of an element, typically enclosed in angle brackets (e.g., <tag> for starting and </tag> for ending). An "element" encompasses the opening tag, the content, and the closing tag combined. For example, in <p>Hello World</p>, <p> and </p> are tags, while the entire snippet including Hello World is an element.
Now that our memory is refreshed from the previous class, let's dive into today’s lesson.
Other HTML Elements
We will continue our learning journey through a project-based approach, picking up from where we left off in the previous class. We will replace the placeholder text with actual text and create a nice Personal profile.
Pre-formatted Tags
Paragraph tags don’t respect line breaks except when the line break tag is used. Let’s demonstrate this:
In our “index.html” file in VS Code, try creating a line break in the first paragraph element under the “About Me” section.
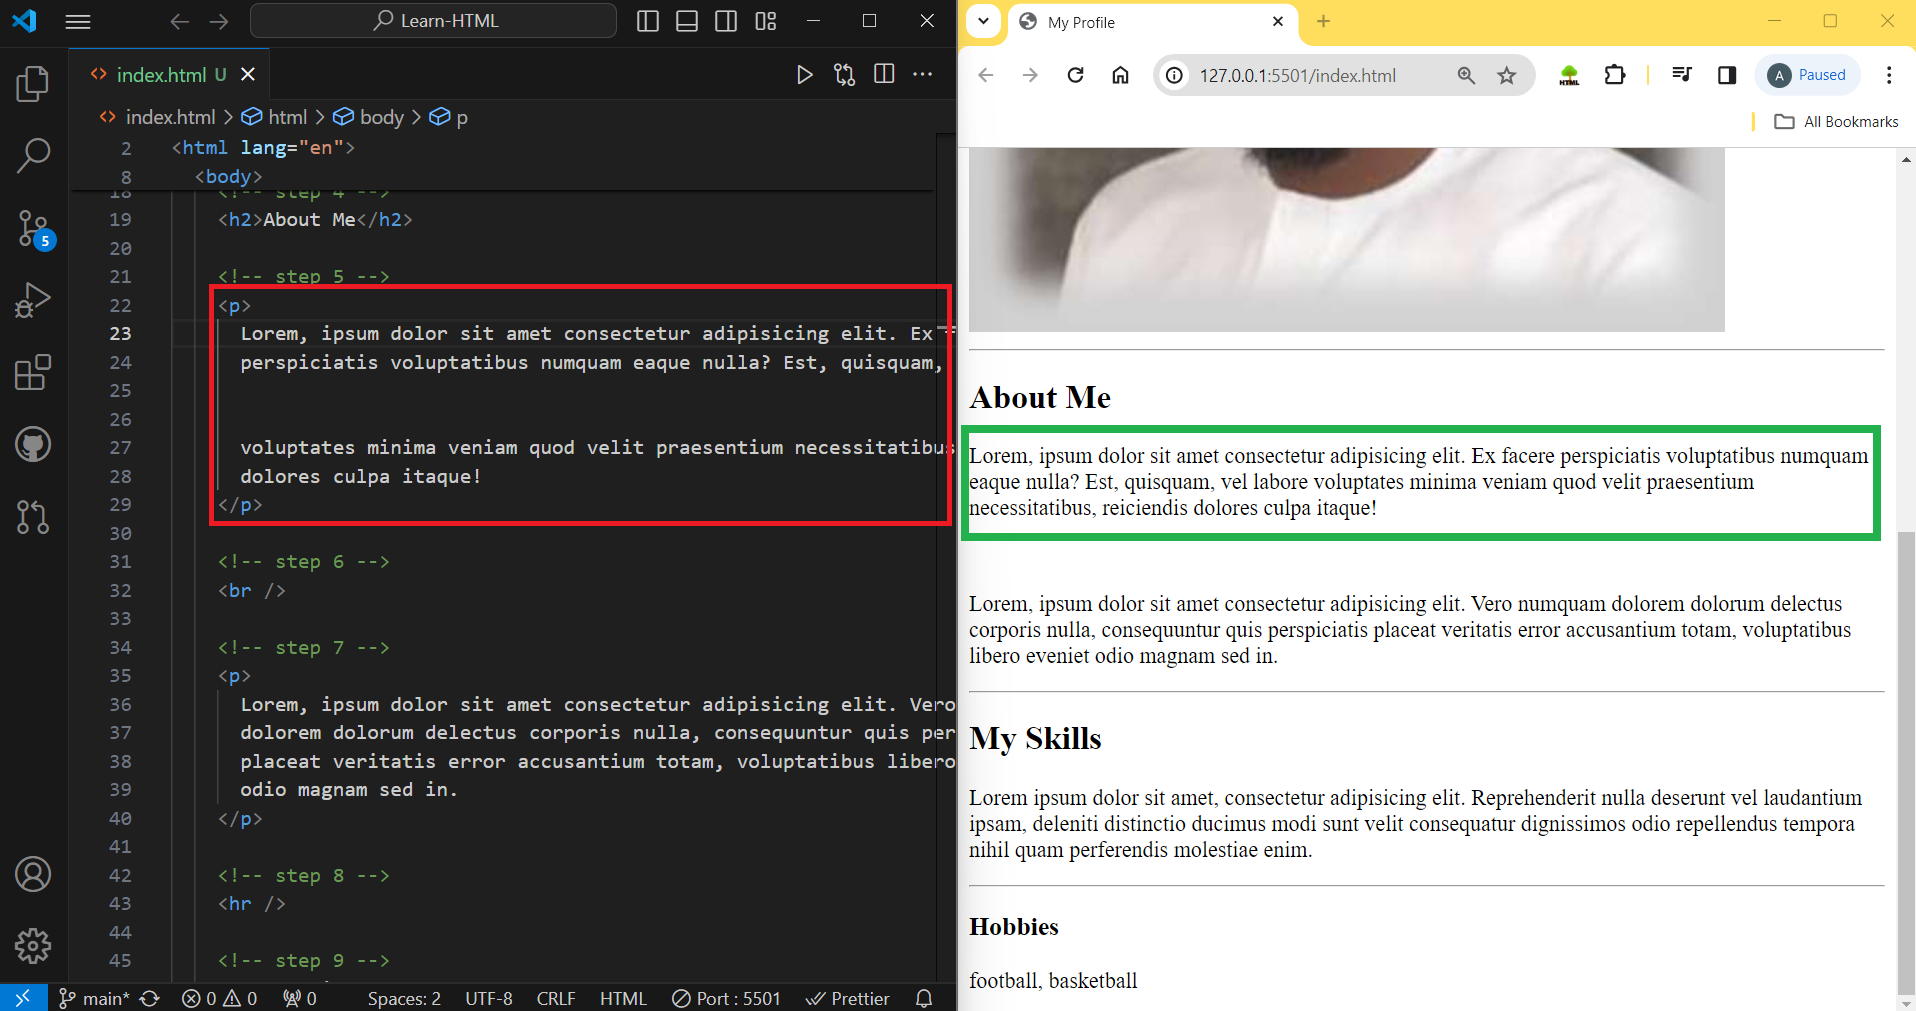
Now, change the tag names in the first paragraph to “pre”, and notice the difference:
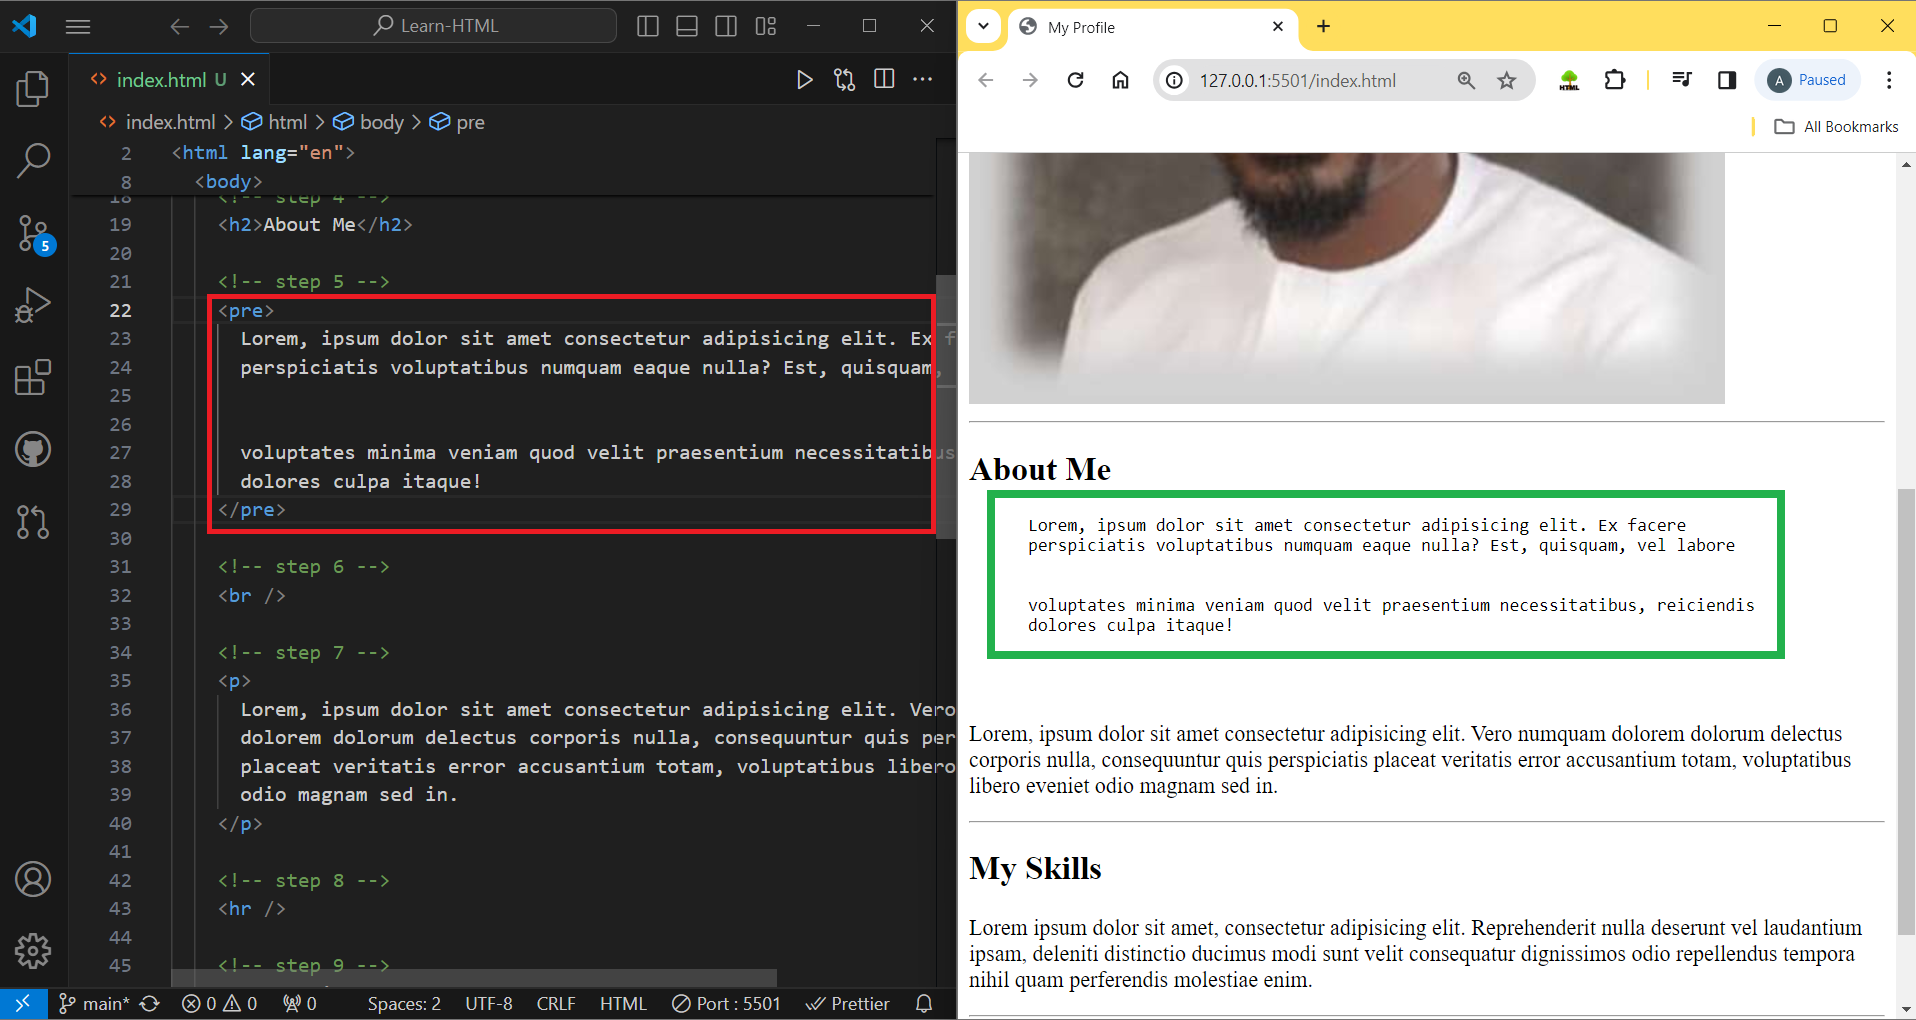
The "pre" tags allow you to add line breaks inside paragraphs without using the line break tags.
Comments
Comments are used to add notes, explaining the codes you have written. They are essentially “notes to self” or to others reading your codes. They make your codes more readable and understandable. They don't get displayed to the user. Here’s how they are written:
<!-- My Name -->
<h1>Oloche Aboje</h1>
Ensure to type them on a separate line, above the element or code you are trying to describe.
Now, let's add comments to our entire code.
Update the text of the various sections of your page to reflect your actual profile.
Notice that the comments are not displayed in the live review.
Hyperlinks
Hyperlinks are elements that are used to create digital links, taking the user to other pages or data. They could be links or buttons. Let's demonstrate this directly on our Profile page.
- Add another “h3” tag just before the closing “body” tag, that says “Contact Me”.
<h3>Contact Me</h3>
- To add hyperlinks, we use anchor “a” tags that display the content we want the user to interact with:
<h3>Contact Me</h3>
<a>Linkedin</a>
<a>GitHub</a>
<a>Youtube</a>
- We'll use a hypertext reference attribute “href” inside the opening tags to turn these simple text into links or hypertext, by adding the corresponding URLs to the href values:
<h3>Contact Me</h3>
<a href="<https://www.linkedin.com/in/ao111>">Linkedin</a>
<a href="<https://github.com/accdev1694>">GitHub</a>
<a href="<https://www.youtube.com/channel/UC0jfRtsD1j_Auo52vqkmbow>">Youtube</a>
- The “href” attribute is not displayed but what is displayed is the content nested between the opening and closing anchor tags.
Here is the result:
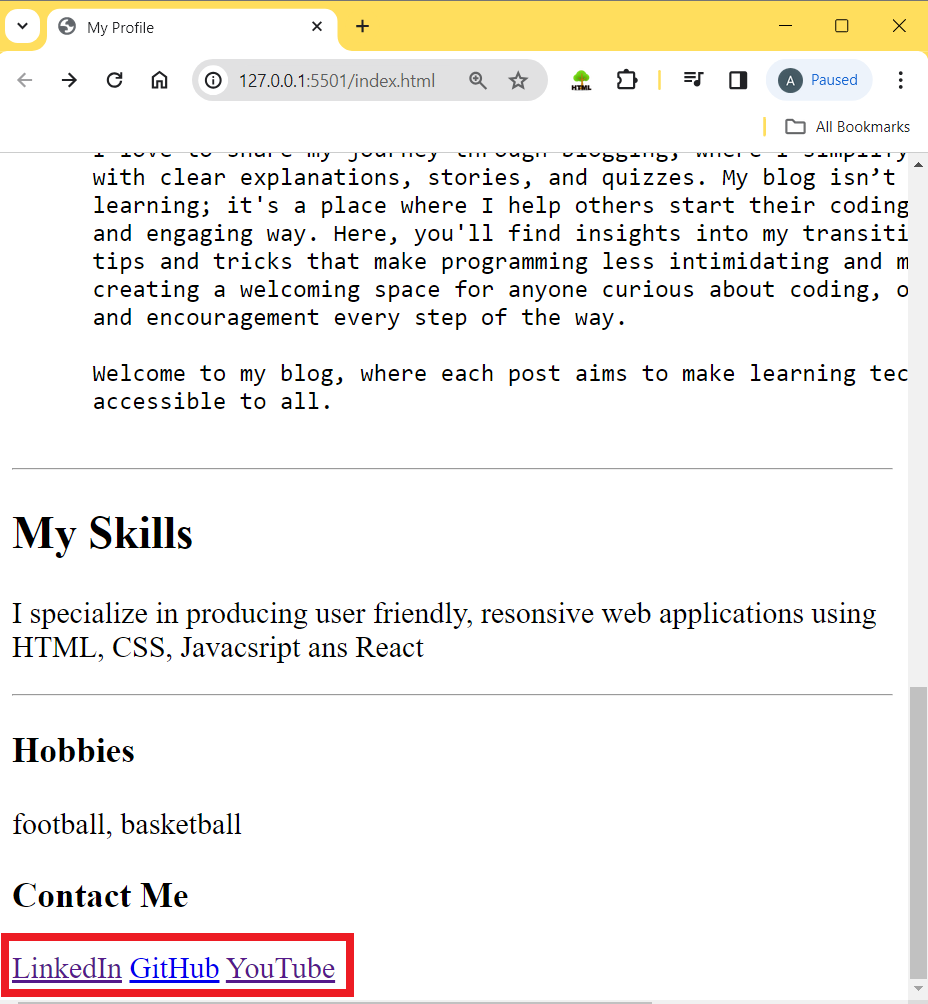
Experiment by clicking on the links to see how they take you to the respective pages.
We can add other attributes to our links. Let’s add the “target” and “title” attributes.
The “target” attribute set to “_blank” tells the link to open on a new window or tab.
The "title" attribute adds a tooltip when hovering over the links:
<h3>Contact Me</h3>

<a href="<https://www.linkedin.com/in/ao111>"
    target="_blank" title="my linkedin">Linkedin</a>

<a href="<https://github.com/accdev1694>"
    target="_blank" title="my github">GitHub</a>

<a href="<https://www.youtube.com/channel/UC0jfRtsD1j_Auo52vqkmbow>"
    target="_blank" title="my youtube">Youtube</a>
- Experiment further by hovering over the links to see the titles on the tooltip, and clicking to open a new tab.
The above demonstration uses absolute links. We will demonstrate relative links next, using an exercise:
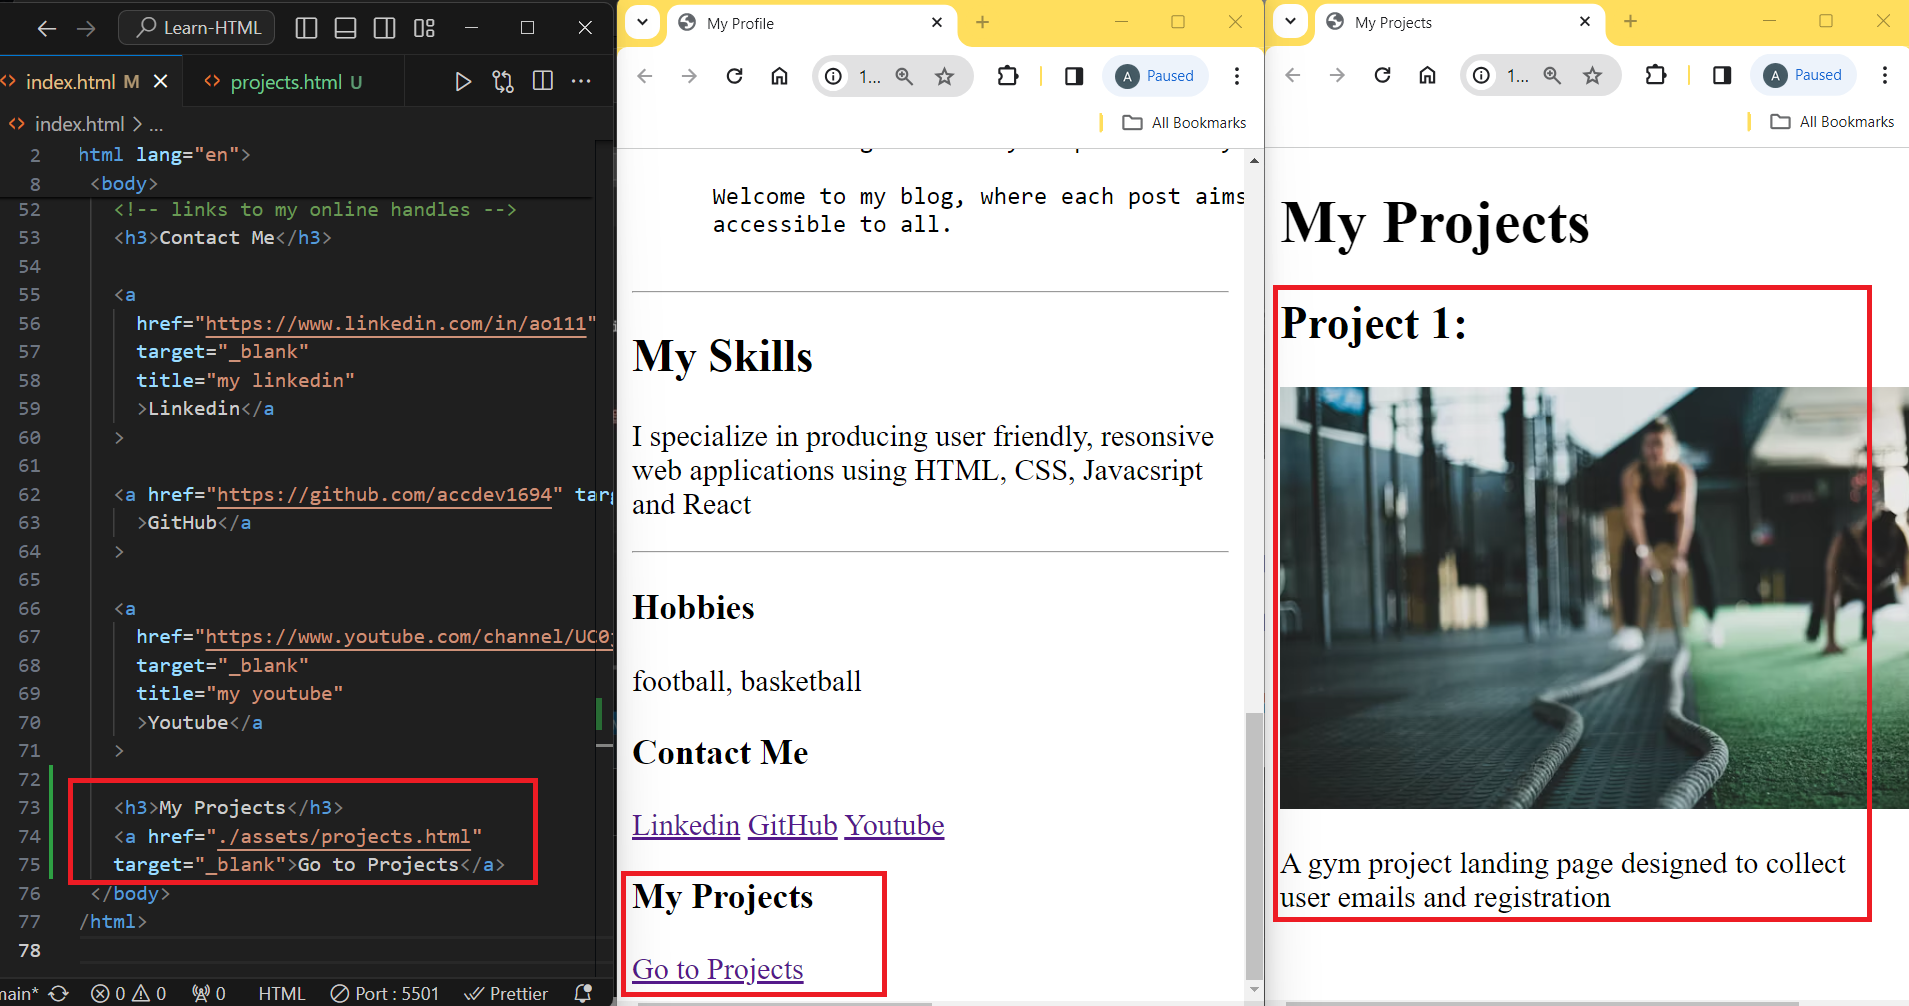
Activity h04:
Inside the assets directory of our project, create an HTML file “projects.html”.
Open this file and create a boiler-plate code. Title this code “My Projects”.
In the body of this project, use an “h1” to create a heading “My Projects”.
Using “h2” elements, create headings “Project 1:”, “Project 2:”, and “Project 3:”, in that order.
Under each of the projects, create an image tag that links to an absolute path, go to unsplash.com and find a placeholder image of choice, right-click and copy image address, then paste in the source attribute of the image tag.
Add a width attribute to each image and set it to 400px.
Add a target_blank attribute to the images.
Give the images an alt value as appropriate.
Under each image, add a paragraph describing each project.
Back in our “index.html” file, create a new section using another h3 tag titled “My Projects”.
Under this new “h3” tag, add an anchor tag that links to a relative path to the new “projects.html” file:
<a href="./assets/projects.html">Go to Projects</a>
Click the link to see how the pages link.
Attempt this exercise on your own, google for clarification when you get stuck, then check your live preview and codes against the mock-up below.
Check the repo to this series for all the codes to all the exercises: accdev1694
Check out the preview below:
In our next article, we will dive deeper into HTML, touching on images, favicons, and media files such as audio and video. Stay tuned, and don't forget to subscribe to this series.
Thank you.