HTML 106: How to create a Table in HTML
Learn HTML Tables from scratch including table tags, table heading tags, table row tags, table data tags, and table formatting.
Oloche Aboje - Frontend Developer & Tech Educator
I'm based in Coventry, UK, with a background in Architecture that has transitioned into Fontend web development. After completing a frontend development boot camp at the University of Birmingham, I've become proficient in JavaScript and React, and I’m passionate about making coding more approachable for everyone.
I love to share my journey through blogging, where I simplify coding for beginners with clear explanations, stories, and quizzes. My blog isn’t just a record of my learning; it's a place where I help others start their coding adventure in a friendly and engaging way.
Here, you'll find insights into my transition to tech, alongside tips and tricks that make programming less intimidating and more fun. It's about creating a welcoming space for anyone curious about coding, offering guidance and encouragement every step of the way.
Welcome to my blog, where each post aims to make learning tech enjoyable and accessible to all.
A quick refresher from our previous article:
Refresher Quiz
What are ordered Lists?
ol are lists that are ordered just as the name implies. They follow a certain numerical order and they are used to itemize things when it is important to follow a certain order.How are ordered Lists structured?
ol tag and then nest the li tags for each item.What are un-ordered Lists?
ul are used when itemizing things without following any particular order. They appear as bullet points.How are un-ordered Lists structured?
ul tag and then nest the li tags for each item.What are nested Lists?
How are nested Lists structured?
ul or an ol tag inside the specific list item you intend to create a sub-category of, then add list items as desired.What are description Lists?
How are description Lists structured?
dl 'description list' tags wrapping the dt 'description terms' tag and the dd 'description definition' tags, in pairs.Tables in HTML
Tables are used to analyze data for display in a structured format for users to easily view them. Here is how tables are created in HTML:
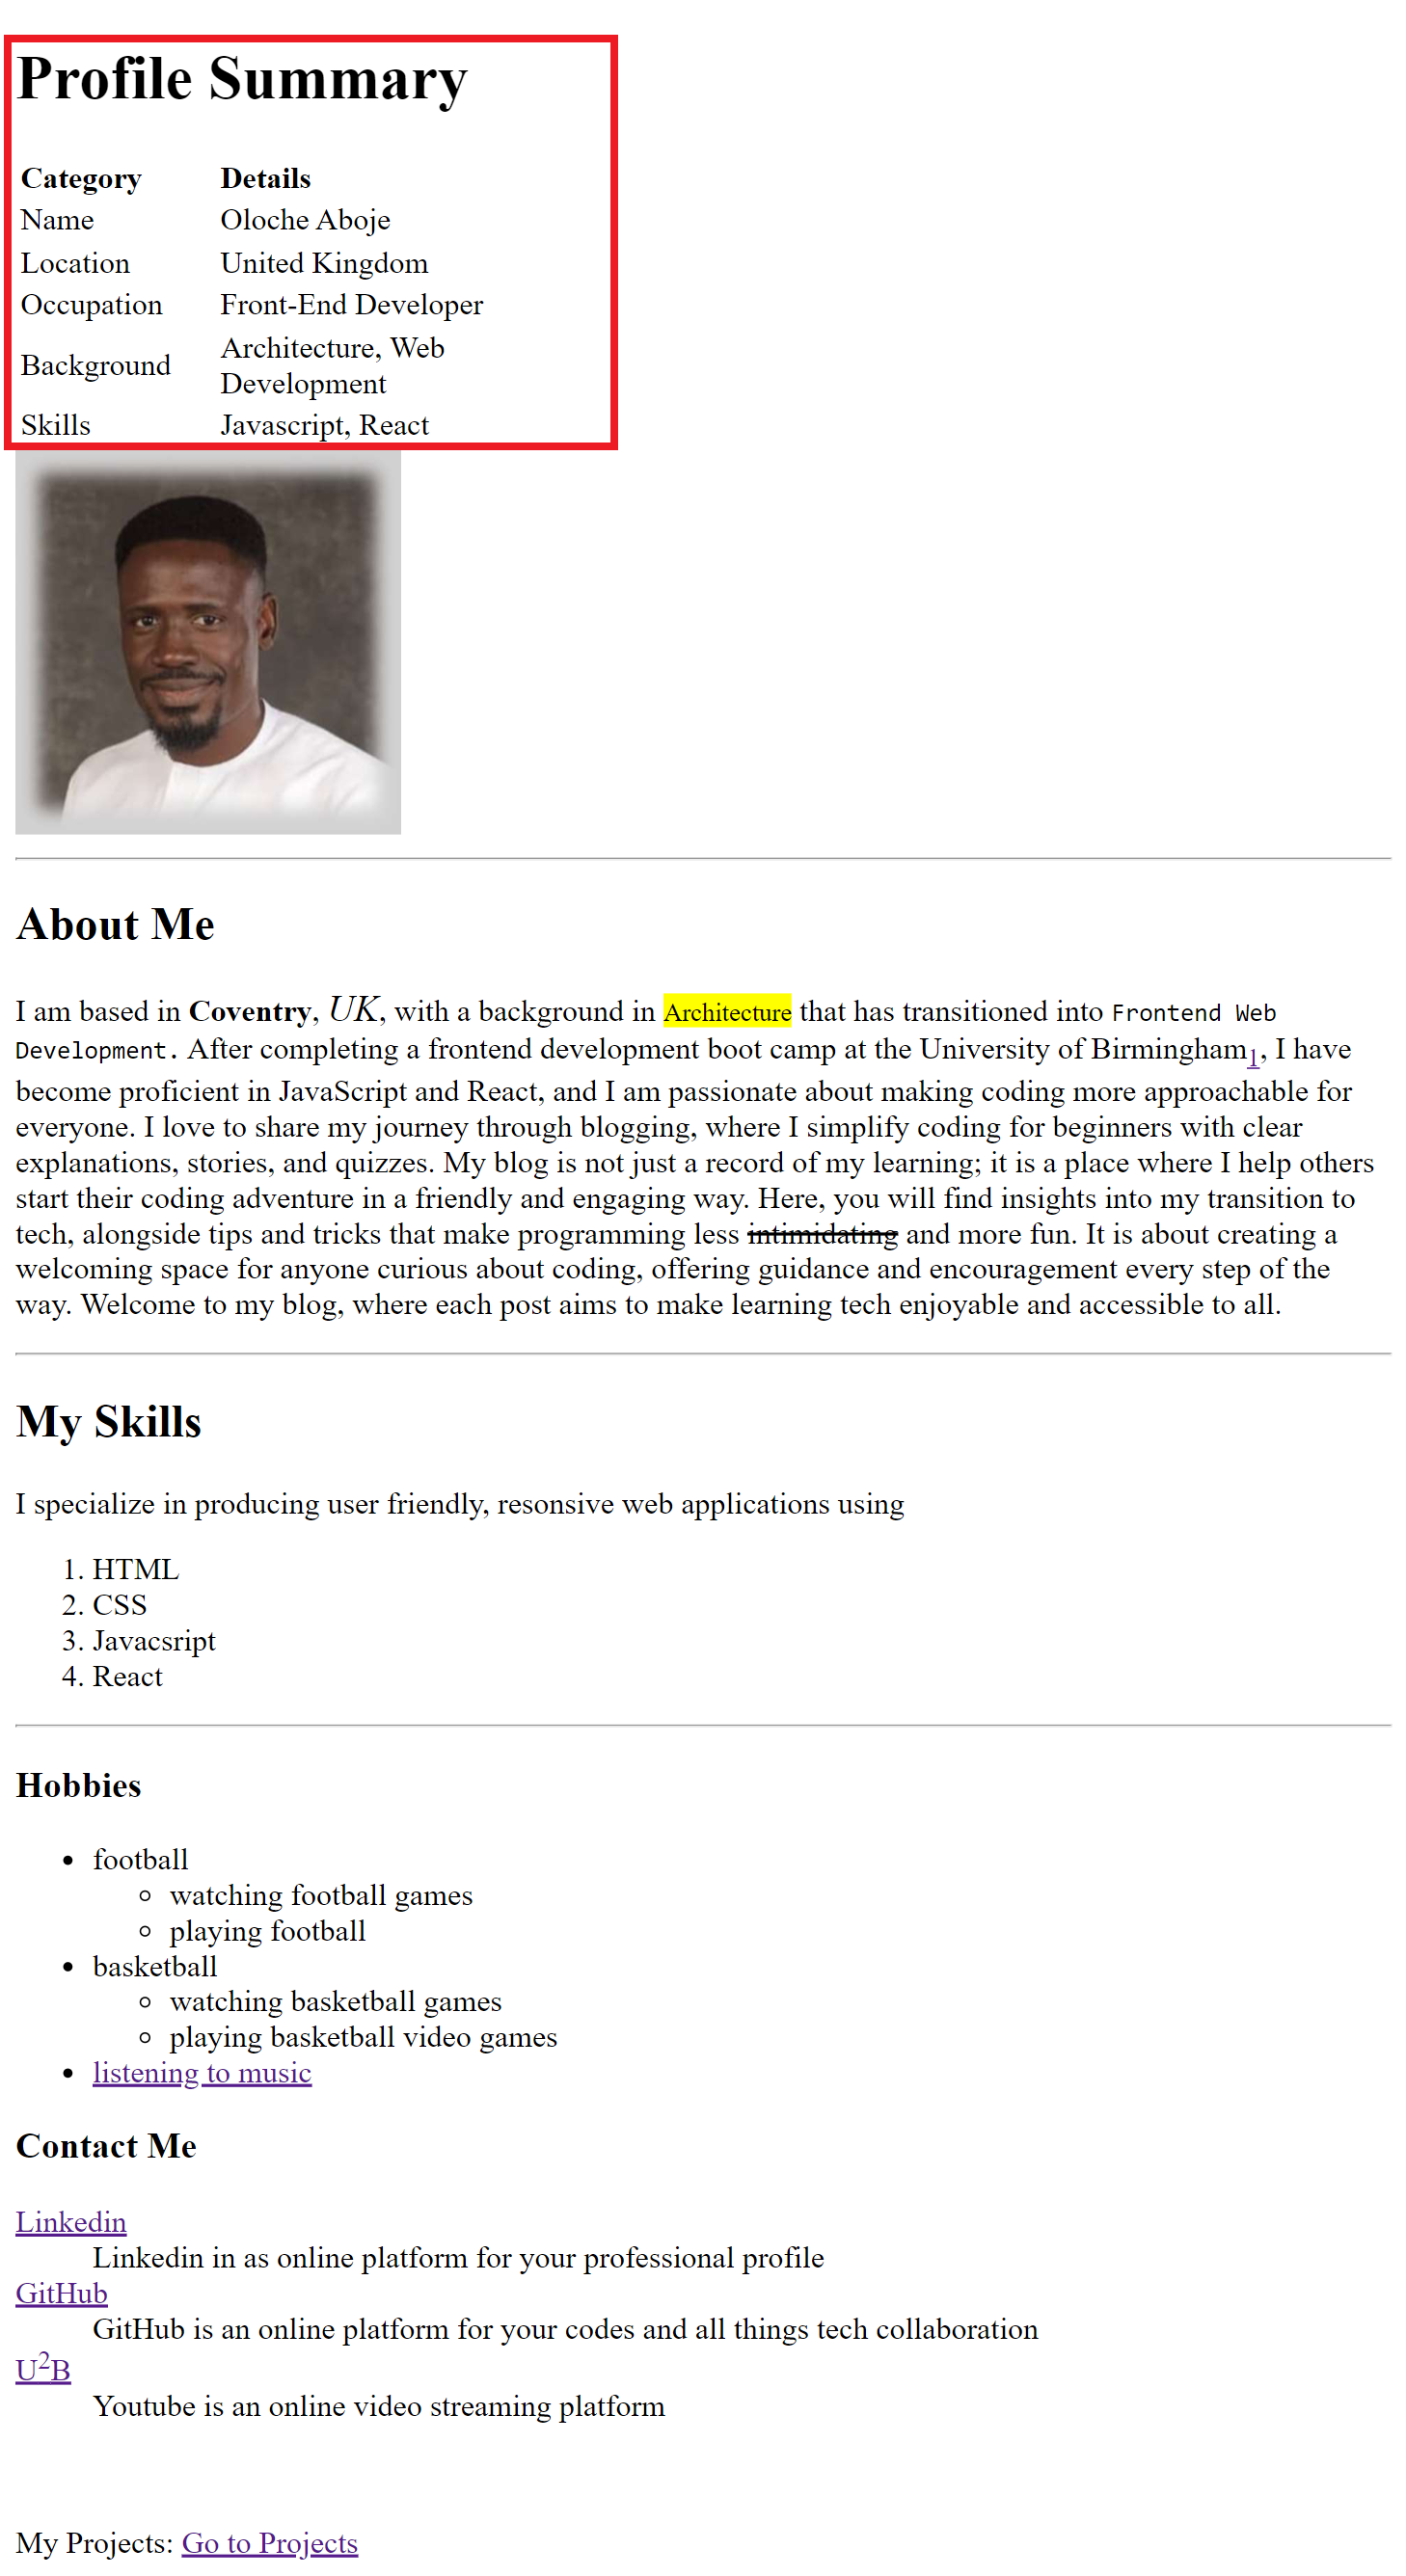
We will create a summary of your profile at the top of the index.html page.
At the highest level, tables are wrapped in the
tabletag, withtrtable rows nested into it. The firsttrwraps athor table heading, then the next sets oftrrows wrap table data ortd, as many as required.In your index.html file, edit your name and type 'Profile Summary' inside the
h1tags.Create the basic skeleton of the table structure as follows:
<table>
    <tr>
        <th>
        </th>
        <th>
        </th>
    </tr>

    <tr>
        <td>
        </td>
        <td>
        </td>
    </tr>
</table>
These are the basic rules for creating tables:
You define rows to contain the various categories. The first row would hold the table headings, so in our case, we intend to have 2 headings, so we create 2
thelements under the firsttrelementThe table data is also defined inside rows, each row would contain 2 td elements to define the data corresponding to the 2 heading categories.
Add more rows as desired to add more information to your table, as follows:
<table>
      <tr>
        <th>Category</th>
        <th>Details</th>
      </tr>
      <tr>
        <td>Name</td>
        <td>Oloche Aboje</td>
      </tr>
      <tr>
        <td>Location</td>
        <td>United Kingdom</td>
      </tr>
      <tr>
        <td>Occupation</td>
        <td>Front-End Developer</td>
      </tr>
      <tr>
        <td>Background</td>
        <td>Architecture, Web Development</td>
      </tr>
      <tr>
        <td>Skills</td>
        <td>Javascript, React</td>
      </tr>
    </table>
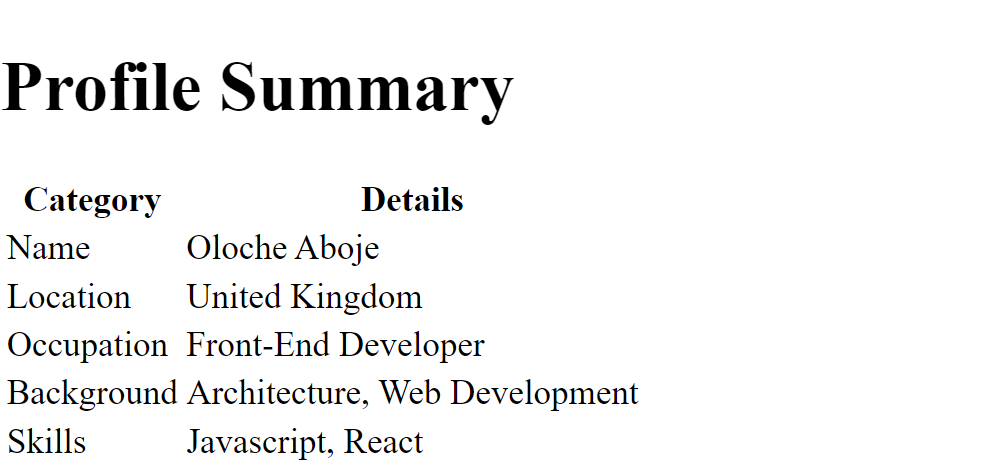
Here is a preview of the new table:
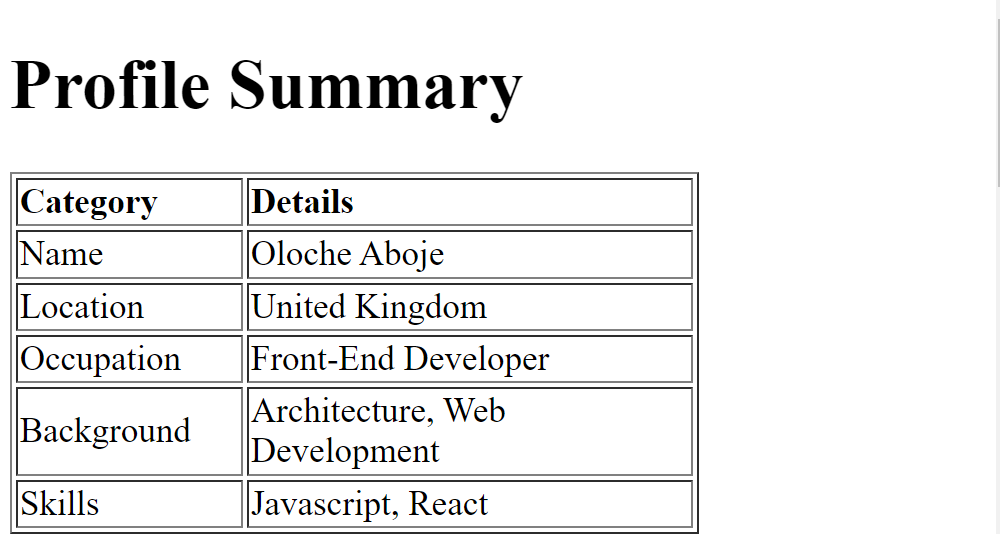
But we can format it a little more:
In the opening
tabletag, add aborderattribute of value1to create cells for the table.Next, in the opening tag of the table row
trfor the heading, add analignattribute of valueleft.In the opening tag of the table heading
th, add an attribute ofwidthand set it to a value of100for the firstcategoryheading and200forDetails.
check out the preview:
I am not quite flowing with the cells, so I will just delete that attribute, and add a width attribute to the passport, and set the value to 200px to reduce it: